Getting Started
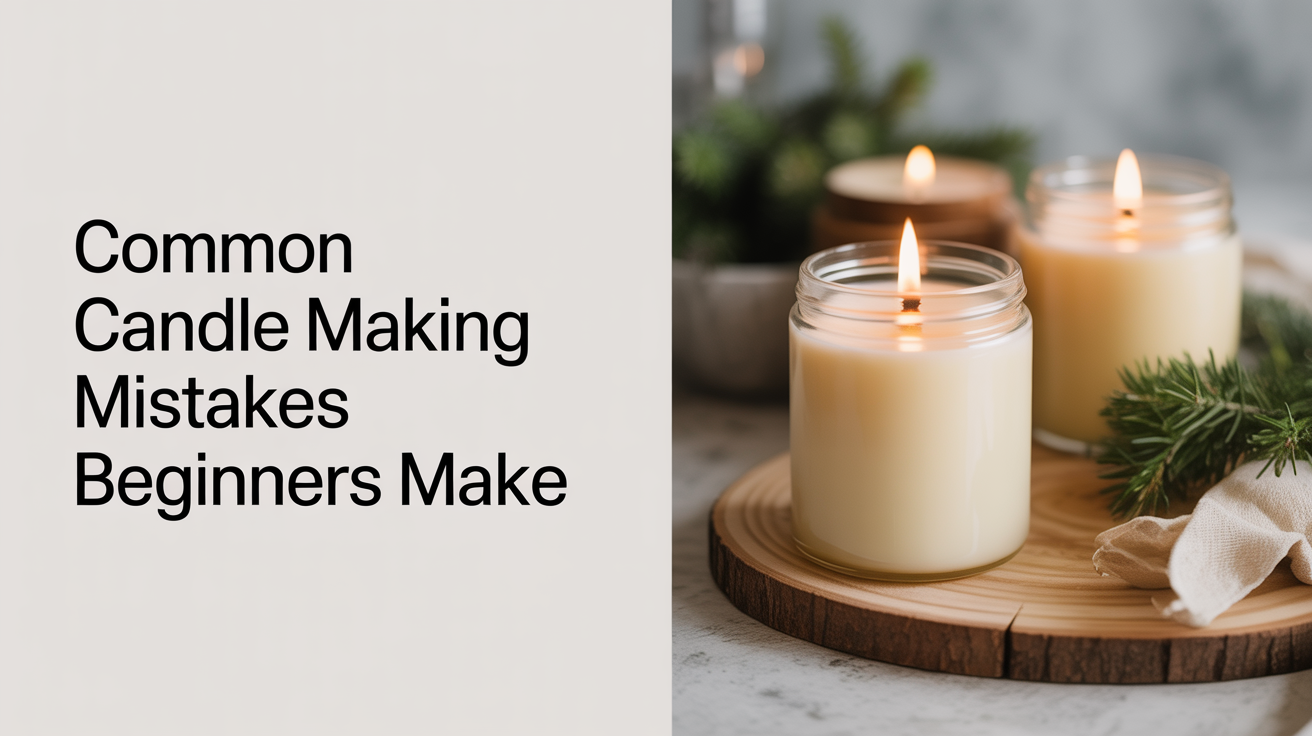
Common Candle Making Mistakes Beginners Make
Learn the most common candle making mistakes beginners make and how to avoid them, from overheating wax to bad wick sizing and rushed cure times.
Most first batches of candles don't turn out perfectly, and that's not a sign that you're doing it wrong. The real culprit is usually a handful of very specific, very fixable problems that trip up almost everyone at the start. Once you know what they are, you can avoid most of them on your second pour.
This guide covers the candle making mistakes that show up most often in beginner batches, what causes each one, and what to do differently. Before anything else: always work with a thermometer, keep a lid within reach to smother any wax fire (never water), and melt wax over indirect heat rather than directly on a burner. Hot wax can cause serious burns or ignite if it overheats or spills, so a safe workspace is the first step before any pouring begins.
Overheating the Wax
This is the most common safety issue and one of the most damaging mistakes in candle making. When wax gets too hot, it can discolor, lose scent throw, start smoking, or, if it approaches its flash point, become a fire hazard. Soy wax is generally safe to melt up to around 185°F (85°C), but most pours happen at a lower temperature than that. Paraffin varies by blend, with some container paraffins rated for higher melt temps up to around 200°F (93°C), but always check your supplier's data sheet.
The problem isn't usually a single spike in temperature. It's the habit of walking away from the double boiler without a thermometer clipped in. Wax heats unevenly and faster than most people expect.
How to avoid it:
- Use a thermometer. A candy thermometer or infrared laser thermometer both work.
- Melt on medium-low heat over a water bath, not direct flame.
- Pull the wax off heat once it's fully liquid and within your target range.
- Never leave melting wax unattended.
If your workspace ever smells strongly of burning or the wax starts smoking, remove it from heat immediately and do not lean over the pot.
Adding Fragrance at the Wrong Temperature
Fragrance oils are sensitive to heat. Add them too hot and the scent can burn off, leaving you with a candle that smells faint. Add them too cool and the oil won't fully incorporate, which can cause separation or oily seeping later on.
Most fragrance suppliers recommend adding fragrance oil between 170°F and 185°F (77°C to 85°C) for soy and container paraffin blends, then stirring slowly for about two minutes before bringing the wax down to pour temperature. The exact window varies by wax type, so check the spec sheet that came with your wax.
Stirring matters as much as temperature. A quick swirl isn't enough. Slow, steady stirring lets the oil bind into the wax evenly. If you've ever had oily puddles on top of a cured candle, inconsistent stirring is usually the cause.
One thing to confirm before you buy any fragrance oil: its flash point should be well above your pour temperature. A flash point of 170°F (77°C) on a fragrance you're adding at 180°F (82°C) is a problem. Stick to fragrance oils with flash points at 170°F (77°C) or higher, and follow IFRA usage limits for your wax load.
Choosing the Wrong Wick
Wick sizing is where most beginner candle making problems live. A wick that's too small produces a narrow melt pool and tunneling, where wax around the edges never melts and you lose most of your candle. A wick that's too large creates a tall, sooty flame, generates too much heat, and can throw black smoke onto the jar or nearby wall.
The diameter of your container is the starting point. Wick charts from your wick supplier give you a size range for a given container diameter and wax type. These are starting points, not guarantees. The fragrance load, the color you use, and the specific wax all affect how a wick burns.
What helps:
- Buy several wick sizes and run dedicated test burns for each.
- A good first burn should reach a full melt pool across the surface within 3 to 4 hours on a 3-inch (7.5 cm) container.
- Watch the flame height. A steady flame of about 1/2 inch (1.2 cm) is a reasonable target. A flame that mushrooms or flickers wildly points to a wick that's too large.
- Trim the wick to 1/4 inch (0.6 cm) before every burn session.
Skipping wick testing is the single biggest shortcut that hurts candle quality. Run the tests and your finished candles will perform much more consistently.
Pouring at the Wrong Temperature
Pour too hot and you get sinkholes and a rough, bumpy top as the wax cools and contracts unevenly. Pour too cold and the wax starts to set before it bonds properly to the container, causing wet spots, the milky adhesion-failure patches visible through glass jars.
Most soy waxes pour well between 130°F and 145°F (54°C to 63°C). Container paraffin blends often pour closer to 160°F to 180°F (71°C to 82°C). Your wax supplier's instructions are the authority here; these numbers are starting points that vary by specific product.
Preheat your containers if your workspace is cool. A jar sitting in a room at 60°F (16°C) will cool the wax too quickly, and uneven cooling is where surface problems start. Warming jars in an oven at the lowest setting for 10 minutes, or setting them on a heating pad, reduces the temperature gap between the hot wax and the container. You can get a full look at what gear you need to make this easier in candle making supplies every beginner needs, or follow the full process from start to finish in how to make candles at home: a complete beginner's guide.
Not Curing Long Enough Before Testing
Soy wax in particular needs time after pouring before it reaches its best scent throw. Pouring and burning the same day will almost always leave you disappointed. The fragrance molecules continue bonding into the wax matrix during cure, and the scent throw at 24 hours often bears little resemblance to what it will be at 72 hours or a week out.
A practical cure schedule:
- Soy wax containers: at least 72 hours, preferably 1 week for accurate scent testing.
- Paraffin containers: 24 to 48 hours is usually enough for initial testing, though a full week gives you a cleaner read.
- Beeswax: at least 48 hours before your first test burn.
Patience during cure also prevents you from writing off a fragrance that actually smells great once it's fully set. If you're wondering whether the budget for test batches is worth it, see how much does it cost to start making candles for a realistic breakdown of what early batches actually run.
Frequently Asked Questions
Why does my candle top look rough and uneven after it cools?
This usually happens when the wax is poured too hot, causing rapid contraction, or when the room is too cold for an even cool-down. Try pouring at a slightly lower temperature, preheating your containers, and placing finished candles in a draft-free spot while they set. A second pour of fresh wax at a slightly lower temperature can fill in deep sinkholes once the first pour has fully cooled.
My candle has white patches on the inside of the glass. What are they?
Those are wet spots, an adhesion failure between the wax and the jar wall. They don't affect how the candle burns, but they're caused by rapid or uneven cooling. Preheating the container and pouring at the correct temperature for your wax reduces them significantly. They tend to be more common with soy wax than paraffin.
Can I reuse wax from a candle that didn't turn out?
Yes, with some limits. You can remelt and repour wax as long as the fragrance wasn't scorched during the original melt and the wax hasn't been contaminated with debris or wick trimmings. The fragrance may have lost some throw from the first heat cycle, so adding a small amount of fresh fragrance oil to compensate is a reasonable step.
Why is my candle smoking when it burns?
Soot and smoke usually trace back to a wick that's too large for the container, or to a wick that hasn't been trimmed before lighting. Trim to 1/4 inch (0.6 cm) before each burn. If the problem continues after trimming, test a smaller wick size in your next batch.
How do I know if my wax temperature is safe to pour?
Use a thermometer every time. There's no reliable way to judge pour temperature by eye or by how the wax looks. Clip a candy thermometer to the inside of your pour pot, or use an infrared thermometer for quick spot checks. Your wax supplier's instructions will give you the specific target range for your wax type and container style.