Getting Started
Container Candles vs. Pillar Candles: Where Should You Start?
New to candle making? Learn why container candles are the best starting point and how they differ from pillar candles in wax, molds, and technique.
Start with container candles. That's the short answer, and this guide will show you exactly why, plus what you'll eventually need to know about pillars when you're ready to level up.
Both types are beautiful and both burn well when made correctly. The difference is in the wax, the equipment, and the margin for error. Container candles are forgiving in ways that pillar candles are not, which makes them the logical choice when you're still learning the basics.
What Makes Container Candles Different
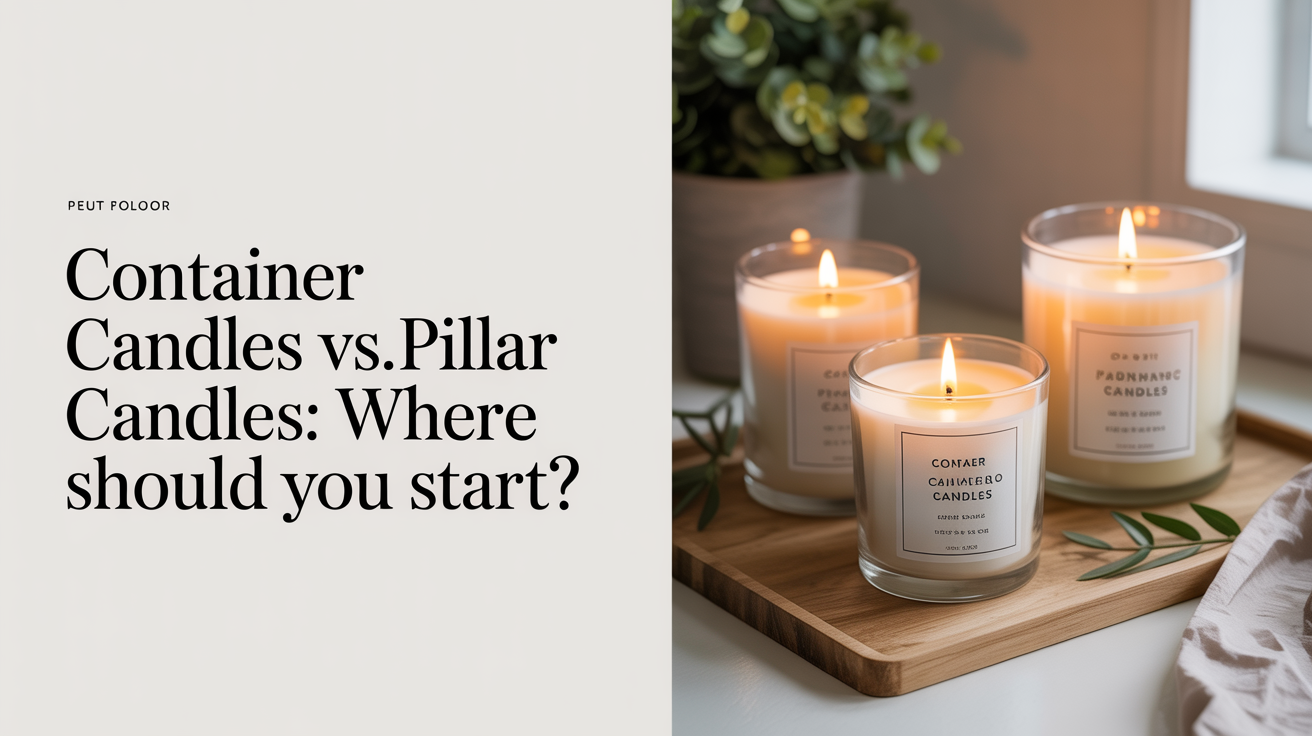
A container candle is poured directly into a vessel that stays with the candle for life. Jelly jars, tin cans, ceramic cups, glass tumblers, apothecary jars: all of these work. The container supports the wax, so the wax itself doesn't need to be rigid or hold its own shape.
This matters more than it sounds. Container wax (usually soy, coconut, or a soft paraffin blend) has a lower melt point and a softer texture. It clings well to glass and bonds tightly to the container walls, which prevents the air gaps and tunneling problems that frustrate beginners. The wax is also cheaper and more widely available than the harder blends used in freestanding candles.
The workflow is simple: melt, add fragrance and dye if you want them, pour into the container, set the wick, and wait. That's it. You can make a decent container candle on your first attempt. You might make a great one by your third or fourth.
For a full rundown of what you'll need before you pour your first batch, see Candle Making Supplies Every Beginner Needs.
What Makes Pillar Candles Harder
A pillar candle stands on its own. It has no container holding it together, so the wax has to be hard enough to support its own weight and maintain clean edges through the burn. That requires a different formulation entirely.
Pillar wax has a higher melt point, a firmer texture, and lower fragrance load capacity than container wax. You also need a mold (metal, plastic, or silicone) and a release agent so the finished candle slides out cleanly. If you skip the release agent, or if the pour temperature is off, or if you didn't seal the wick hole at the bottom properly, the candle can stick, crack, or leave a messy seam line.
Pillars also have a tendency to sink in the center as the wax cools, creating a depression around the wick. Some makers do a second "top-up" pour to fix this. Others embrace it. Either way, it's one more variable to manage.
None of this means pillars are beyond reach. Experienced makers produce them reliably and efficiently. But the learning curve is steeper, and a failed pillar batch wastes more time and materials than a failed container batch.
If you're still getting a feel for melt temperatures and fragrance ratios, adding mold chemistry and release agents to the mix is genuinely harder to troubleshoot. Learn one set of variables before adding another.
The Wax Is Not Interchangeable
This is the most common beginner mistake: using container wax to make a pillar, or assuming all candle wax is the same product with a different label.
Container waxes (like Golden Brands 464 soy or coconut-paraffin blends) are formulated to be soft. They adhere to glass, absorb fragrance well, and have a smooth, creamy finish. Pour them into a pillar mold and you'll get a candle that bends, dents, and won't hold a clean edge.
Pillar waxes (like IGI 4625 or a high-melt paraffin) are hard at room temperature and designed to release from molds without crumbling. They hold detail well and don't flex. Use them in a container and they'll shrink away from the glass as they cool, leaving ugly gaps and an uneven burn.
Check the wax label: if it says "container blend," use it in containers. If it says "pillar and votive," it belongs in a mold.
Side-by-Side Comparison
| Factor | Container Candles | Pillar Candles |
|---|---|---|
| Wax type | Soft (soy, coconut, container paraffin) | Hard (high-melt paraffin, harder blends) |
| Equipment needed | Vessel, wick, thermometer, pour pot | Mold, wick pin, release agent, pour pot |
| Mold required? | No | Yes |
| Fragrance load | Higher (8–12% typical) | Lower (3–6% typical) |
| Difficulty level | Beginner-friendly | Intermediate |
| Top-up pour needed? | Rarely | Often |
| Cost to start | Low | Moderate (molds add up) |
| First-batch success rate | High | Lower |
Why Containers Are the Beginner Default
The container format lets you focus on the foundational skills: reading temperatures, calculating fragrance ratios, centering a wick, achieving a clean cold throw and a good hot throw. These are the skills that carry over to every other candle type, including pillars.
Once you're confident with those, moving to pillars is mostly a matter of learning the wax behavior and mold technique. The fragrance math, wick sizing logic, and pour temperature habits you built making containers all transfer.
Starting with pillars and learning everything at once is possible, but it's a slower path. Most experienced candle makers started with containers, and most candle-making courses still begin there for the same reason.
For a look at the full beginner process from start to finish, How to Make Candles at Home: A Complete Beginner's Guide covers the pour-to-cure sequence in detail.
Ready to Calculate Your First Budget?
Container candles are also cheaper to start. You likely already own a jar or tin that will work as a vessel. A small bag of soy wax, a few pre-tabbed wicks, and a fragrance oil are the only things you need to buy. You can make your first candle for under $20.
Pillars require at least one metal or silicone mold (a decent one runs $15–$40), mold release spray, and a higher-melt wax that's slightly less common at craft stores. The startup cost isn't prohibitive, but it's meaningfully higher than a first container batch.
See How Much Does It Cost to Start Making Candles for a breakdown of what you'll actually spend getting set up.
Frequently Asked Questions
Can I use the same wick for container and pillar candles?
Not usually. Pillar candles require a stiffer, self-trimming wick that can handle the harder wax and typically a wider melt pool. Container candles are more forgiving with wick selection because the vessel contains any excess melt. Wick sizing is always matched to wax type and diameter, so check the wick manufacturer's recommendations for each format separately.
What happens if I pour container wax into a pillar mold?
The candle will be too soft to hold its shape once unmolded. It may dent from handling, slump slightly at room temperature in warm climates, or not release cleanly from the mold at all. Use a wax rated for pillar/votive applications if you want a freestanding candle.
Do I need a double boiler to make container candles?
A double boiler setup (a pour pot sitting in or over simmering water) is the safest way to melt wax because it prevents direct heat exposure and reduces the risk of scorching. You can also use a dedicated electric wax melter. Never melt wax directly in a pot on high heat without monitoring it, as candle wax is flammable above its flash point.
How long should I wait before burning a container candle I just made?
At least 24 hours for most soy and coconut waxes. Some makers prefer 48 hours. The curing time lets the fragrance bind fully with the wax and the wax structure stabilize. A candle burned too soon may have a weaker scent throw than it will after a proper cure.
Can I make pillar candles eventually if I start with containers?
Yes, and most people do. Container candle skills are a solid foundation. Once you're comfortable with temperature control, fragrance ratios, and wick selection, switching to pillars is mainly about learning the new wax behavior and mold handling. Plan to test a few batches before expecting consistent results, but the transition is very manageable once the basics are solid.