Projects & Scents
How to Make Travel Tin Candles
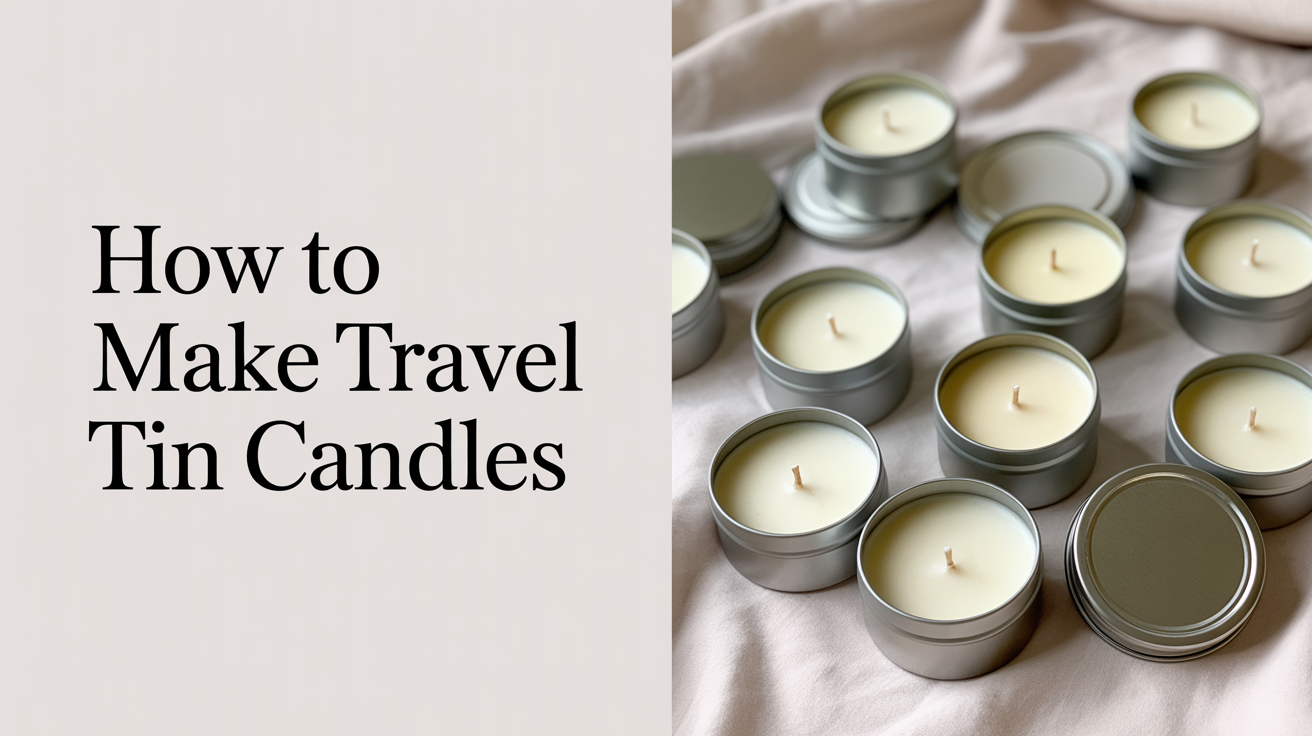
Learn how to make tin candles at home. Step-by-step guide for beginners covering wax, wicks, fragrance loads, pour temps, and cooling tips.
Travel tin candles are one of the best first candle projects you can take on. The tins are cheap, unbreakable, and hold their shape without any special mold setup. Because the walls conduct heat evenly, you get a cleaner burn than in thicker glass containers, and the low profile makes tunneling less likely. Once you know the process, you can turn out a batch of six tins in an afternoon.
This guide walks through every step, from picking the right tin to curing the finished candle. If you have never made a candle before, it helps to read through easy beginner candle projects to try first before you start, so you know what to expect from your first few pours.
What You Need
For a batch of six 4-oz tins, gather the following before you turn on any heat.
Containers
Straight-sided 4-oz or 8-oz metal tins with slip lids are the standard choice. Avoid painted or lacquered tins unless the manufacturer confirms they are heat-safe to at least 200°F (93°C).
Wax
Coconut-soy blends and pure soy wax work well in tins because they bond to metal and hold fragrance without needing a secondary adhesive coating. Paraffin also pours cleanly into tins and gives a slightly firmer finished candle. For 6 tins at 4 oz each, you will need about 24 oz (680 g) of wax by weight, plus a little extra to top off any sinkholes.
Wicks
CD or ECO series wicks sized for a 2.5-inch to 3-inch diameter work for most 4-oz round tins. Buy a small wick sampler if you are unsure; wicking is something every candle maker tests rather than guesses.
Fragrance oil
A fragrance load of 6 to 10 percent is a common starting point for soy and coconut blends. For 24 oz of wax, that is roughly 1.4 to 2.4 oz (40 to 68 g) of fragrance oil. Stay within the supplier's recommended maximum and confirm the flashpoint is above your pour temperature before you buy. For more on choosing and layering scents, see how to blend candle fragrances like a pro.
Other tools
- Double boiler or a heat-safe pouring pitcher set in a pot of simmering water
- Thermometer (infrared or clip-on)
- Kitchen scale
- Wick centering bars or clothespins
- Stirring spoon or silicone spatula
Safety First: Working with Hot Wax
Wax gets hot enough to cause serious burns and can ignite if overheated. A few habits keep you safe every time.
Never melt wax on direct high heat. Use a double boiler or a pouring pitcher sitting in 2 to 3 inches of simmering water. Keep the burner at medium or lower and watch the thermometer throughout the melt.
Know your wax's flash point and stay well below it. Most soy and coconut blends have flash points around 300 to 400°F (149 to 204°C). You will never need to approach those temperatures for pouring.
Keep a metal lid, baking sheet, or fire blanket nearby. If wax catches fire, cover it to cut off oxygen. Never use water on a wax fire.
Work in a ventilated space. Fragrance oils can release fumes when added to hot wax, especially in a small kitchen.
Have paper towels and a second heat-safe container ready for drips and spills. Hot wax is much easier to clean up before it sets.
Step-by-Step: Pouring Travel Tin Candles
Step 1: Prepare the tins and wicks
Wipe the inside of each tin with a dry cloth to remove any dust or oil. Cut your wicks 1 to 2 inches taller than the tin so you have enough to center and trim later.
Apply a small wick sticker or a drop of melted wax to the bottom of each metal wick tab, then press the tab firmly to the center of the tin floor. Let it set for a few minutes before you move on. Lay a wick bar or a pair of clothespins across the top of the tin to hold the wick upright while you pour.
Step 2: Melt and monitor the wax
Weigh your wax into the pouring pitcher and set it in the double boiler. Turn the burner to medium-low and let the wax melt slowly, stirring every few minutes. Watch the thermometer; do not leave the pot unattended.
For most soy and coconut blends, the wax will be fully liquid between 160 and 175°F (71 and 79°C). Paraffin melts a little higher, usually between 150 and 165°F (66 and 74°C), depending on the grade. Check your supplier's data sheet for the specific wax you are using.
Step 3: Add fragrance
Once the wax is fully melted and has climbed to around 170 to 185°F (77 to 85°C), remove the pitcher from the heat and add your weighed fragrance oil. Stir slowly and steadily for at least 2 minutes. You want the oil to bind fully with the wax rather than pool at the bottom.
If you are working with soy wax and want ideas for scent combinations, the guide on how to make scented soy candles in jars has a section on fragrance pairing that applies equally well to tins.
Step 4: Cool and pour
Let the wax cool in the pitcher, stirring occasionally, until it reaches your target pour temperature. For most soy blends, that is somewhere between 120 and 140°F (49 and 60°C). For coconut-soy blends, aim for 125 to 145°F (52 to 63°C). Pouring cooler gives a smoother top surface and reduces the chance of air bubbles.
Pour slowly and steadily into the center of each tin. Fill to about a quarter inch from the top of the tin wall to leave room for the lid. Stop pouring if you notice the wick tilting and re-center it before the wax sets.
Step 5: Let the candles cure
Tins cool faster than glass because metal transfers heat away from the wax. Most tins will look solid on top within an hour at room temperature.
After the surface is firm, check for a small sinkhole around the wick. This is normal. Melt the remaining wax back to 170°F (77°C) and pour a thin top-off layer to fill any dips. Do not overfill; you just want to level the surface.
Once the top-off layer has set, trim the wick to about a quarter inch and put the lid on. Let the candles cure for at least 48 hours before you test-burn one. Soy and coconut blends benefit from a longer cure, up to a week, because the fragrance bonds more fully with the wax over time.
Testing and Troubleshooting
Burn one candle from each new batch as a test before you give any away. Place it on a heat-safe surface, light it, and watch the first burn for at least 2 hours or until the melt pool reaches the edges of the tin. A full melt pool on the first burn means your wick is the right size.
If the melt pool never reaches the edges, the wick is too small and you will get tunneling. If the flame is very high or the tin is getting too hot to touch within the first hour, the wick may be too large. Both are normal results on a first test batch; order a size up or down and try again.
A rough or bumpy top surface usually means the wax was poured too hot or the room was cold. A lower pour temperature and a warmer room (at least 65°F / 18°C) will give you a smoother finish.
Frequently Asked Questions
What is the best wax for tin candles?
Coconut-soy blends are a reliable first choice because they bond well to metal, hold fragrance without additives, and are forgiving about pour temperature. Pure soy wax also works well and is easy to find. Paraffin pours cleanly and gives a harder finished candle, but it tends to shrink more, which means more top-off pours.
How much fragrance oil should I use in a tin candle?
Start at 6 percent by weight and work up from there if you want a stronger throw. Most coconut-soy blends handle up to 10 percent without sweating. Always check your wax supplier's recommended maximum fragrance load and your fragrance oil's usage rate.
At what temperature should I pour wax into tins?
For most soy and coconut-soy blends, a pour temperature between 120 and 145°F (49 and 63°C) gives a smooth surface. Paraffin is often poured a little warmer, around 140 to 160°F (60 to 71°C). Your wax data sheet will give you the most accurate guidance for the specific product you are using.
Why is there a hole or dip around my wick?
A small sinkhole forms because wax contracts as it cools, and the center near the wick stays liquid longer than the edges. It is normal and easy to fix with a thin top-off pour of wax at the same temperature you used for the first pour.
How long should I cure tin candles before burning?
A minimum of 48 hours is the common starting point. For soy and coconut blends, a 5 to 7 day cure often gives a stronger and more even scent throw. The wax and fragrance continue to bond during this period, so patience pays off.