Getting Started
How to Set Up a Safe and Organized Home Candle Making Workspace
A practical candle making workspace setup guide: surface, ventilation, storage, and a melt-pour-cool layout that keeps hot wax under control.
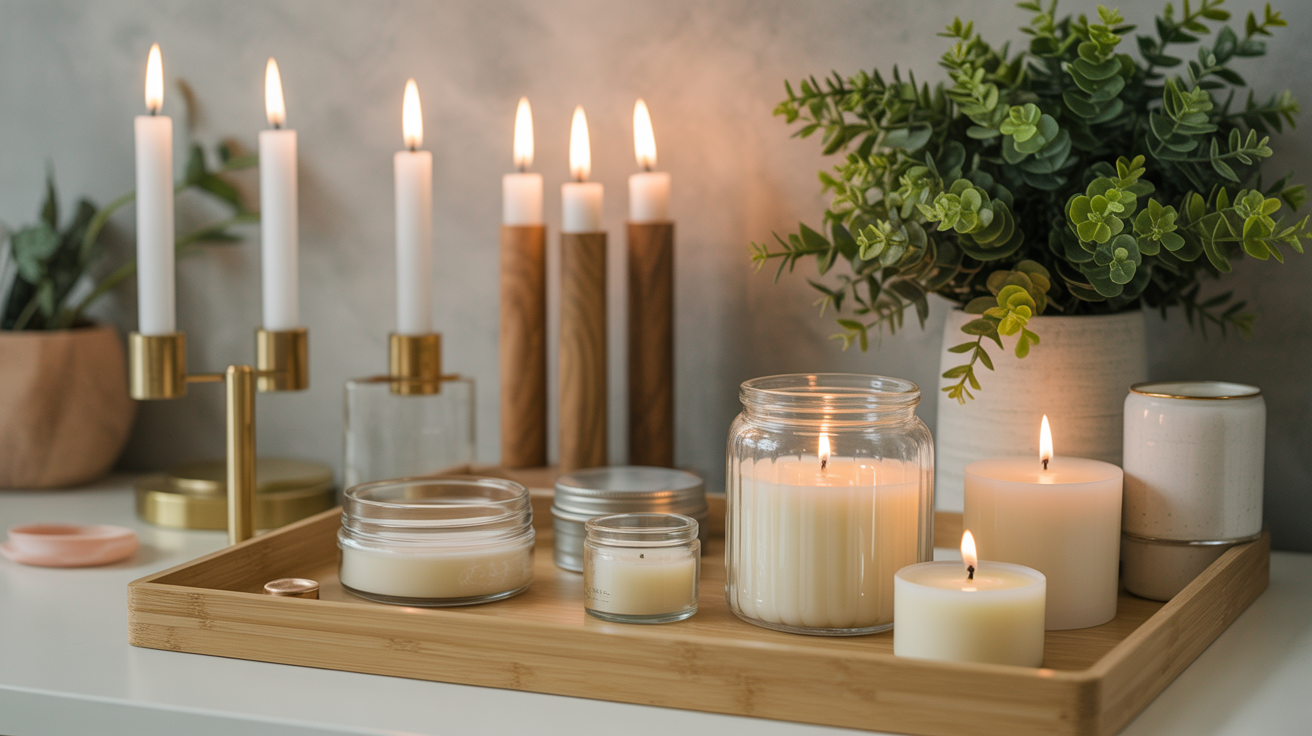
Before you buy a single bag of wax, spend twenty minutes looking at your kitchen or garage with fresh eyes. A good candle making workspace setup is not about owning a dedicated craft room. It's about picking one spot where hot wax, an open flame, and a bit of clutter can coexist without turning into a problem. Most people skip this step and pour their first batch wherever there happens to be counter space, then wonder why wax ends up on the floor, the fragrance oil smell lingers for two days, or a bag of wax flakes gets shoved behind the toaster and forgotten.
This guide covers the four things that matter: the surface you work on, how you move air through the room, where supplies live between pours, and the rough shape of your workflow from melting to cooling. None of it requires a renovation or a big budget, just a spot set up on purpose instead of by accident.
Pick a Heat-Safe, Stable Surface First
Your work surface is the one decision that affects every pour you'll ever do, so start there. Look for:
- A hard, flat, heat-tolerant surface. A kitchen counter, a metal-topped table, or a wood table protected by a silicone mat or an old baking sheet all work. Avoid anything wobbly. A double boiler full of hot wax on an uneven card table is how spills happen.
- Distance from anything that burns easily. Curtains, paper towel rolls, stacks of mail, and dish towels should not be within arm's reach of your melting pot. Give yourself at least a couple of feet of clear space around the heat source.
- A surface you don't mind getting a little wax on. Even careful pourers drip. A silicone mat, a layer of parchment, or a cheap vinyl tablecloth turns cleanup into a wipe-down instead of a scraping project.
- Enough room to spread out. You'll want the melting pot, a pouring pitcher, your scale, your thermometer, and the containers you're filling all within reach at once. Cramped counters lead to rushed pours, and rushed pours are where mistakes creep in (our rundown of common candle making mistakes beginners make has more on that).
If you share a kitchen with a family that needs the counters back by dinnertime, a rolling cart or a folding table you set up and break down each session works fine. The goal is a stable, heat-safe surface every time, not a permanently reserved room.
Solve Ventilation Before It Becomes a Problem
Melting wax and adding fragrance oil both put something into the air, and a stuffy room makes both worse. You don't need an industrial exhaust system for a home candle making station. You need moving air.
A few options, roughly from simplest to most effective:
- An open window with a cross breeze. If you can crack a window on two sides of the room, or a window plus a door, you get real airflow without any equipment.
- A box fan facing outward. Set a fan in or near a window, blowing air out of the room rather than in. This pulls fumes away from your face instead of circulating them around the room.
- A range hood, if you're working in the kitchen. Turn it on before you start melting wax, not after you notice the smell. It vents overhead fumes reasonably well if the exhaust actually goes outside rather than just filtering and recirculating.
- A portable air purifier as a supplement. It helps with lingering fragrance, but it's slower than moving air and shouldn't be your only plan.
The practical test is simple: if you can still smell fragrance oil strongly ten minutes after you've capped the bottle, you need more airflow. Candle making ventilation matters for comfort as much as safety, since fragrance oils are concentrated and a small, closed room fills up fast. For the broader hot wax precautions (extinguishing a wax fire, safe melting temperatures, what to do if wax overheats), lean on our full candle making safety guide rather than trying to remember it all from a workspace post.
Organize Your Supplies So You Can Find Them Mid-Pour
Nothing derails a pour like realizing your wicks are in a drawer across the house while your wax is already melted and cooling in the pot. A little organization up front keeps that from happening.
Store wax away from heat and light
Wax flakes or blocks should live in a cool, dry spot out of direct sun, such as a closet shelf, a cabinet away from the stove, or a plastic bin under a table. Heat and sunlight won't ruin most waxes outright, but a hot garage in summer can soften soy wax enough that it clumps in the bag.
Keep fragrance oils capped, labeled, and out of the light
Fragrance oils degrade faster than wax, especially with heat and UV exposure. Store bottles tightly capped, ideally in a drawer or box rather than lined up on an open shelf in full sun. Label every bottle with the scent name and the date you opened it if the manufacturer's label doesn't already make that obvious. A shelf of unlabeled brown bottles is a guessing game you'll regret in six months.
Give wicks their own small, dedicated container
Wicks are cheap, light, and easy to lose track of. A divided plastic box, a repurposed jewelry organizer, or a labeled jar per wick size keeps them sorted so you're not untangling cotton and metal tabs mid-pour. If you're still assembling your basic kit, our beginner supply list covers what's worth buying versus what you can skip at first.
Whatever containers you land on, label them. "Soy wax," "6% coconut fragrance," "CD-8 wicks" written on masking tape takes ten seconds and saves you from mixing up two similar-looking bags three months from now.
Lay Out a Melt, Pour, Cool Workflow
Once your surface and storage are sorted, think about how wax actually moves through your space during a session. A workable layout has three loose zones:
| Zone | What happens there | What to keep nearby |
|---|---|---|
| Melting station | Wax melts in a double boiler or wax melter, fragrance gets stirred in | Thermometer, stirring utensil, pot holders, fire extinguisher or lid |
| Pouring station | Melted wax gets poured into wicked containers | Pouring pitcher, scale, containers, a heat-safe surface to set hot containers on |
| Cooling area | Poured candles sit undisturbed while they set | Flat, level, draft-free spot away from foot traffic, pets, and open windows with a direct breeze |
These don't need to be three separate rooms. On a single counter, they can be three spots left to right: melt, pour, then slide finished candles to the far end to cool. The point is to keep hot wax moving in one direction rather than carrying a full pot back and forth across a busy kitchen.
A few layout habits worth building in from day one:
- Keep the cooling area out of the main walking path. A candle that's still liquid on top and gets bumped by someone reaching for a coffee mug is a mess waiting to happen.
- Keep pets and kids on the other side of a closed door during a pour. A vague "somewhere else in the house" isn't reliable when a curious cat can jump onto a counter with an open flame or hot wax.
- Don't cool candles near a drafty window or an air vent. Uneven cooling from a stray breeze is a common cause of sunken or cracked tops.
What to Keep Within Arm's Reach
Before you melt your first ounce of wax, make sure these are already at your station:
- A lid for your melting pot, or a fire extinguisher rated for grease and oil fires (never water on a wax fire)
- Oven mitts or heat-resistant gloves
- A spill containment layer under your whole work area (a silicone mat, parchment, or a folded towel)
- A thermometer you trust
- A phone or timer, since fragrance temperature windows are often just a few degrees wide
None of this is expensive. It just needs to be in the room before you start, not two rooms away in a drawer.
Frequently Asked Questions
Do I need a separate room just for candle making?
No. A dedicated room is convenient if you have one, but a kitchen counter, garage workbench, or folding table works fine as long as it's stable, heat-safe, and away from flammable clutter.
How do I know if my ventilation is good enough?
A rough test: if fragrance lingers strongly ten minutes after you've finished pouring, or you notice a headache or eye irritation while working, you need more airflow. An open window with a fan pulling air outward is usually enough for typical home batch sizes.
Where should I store leftover wax between pours?
Keep it in its original bag or a sealed container, in a cool spot out of direct sunlight, away from the stove or any other heat source. A cabinet shelf or closet works well. Avoid hot garages in summer, since heat can soften wax enough to clump.
Can I set up my workspace on a kitchen table instead of a counter?
Yes, as long as you protect the surface with a silicone mat, parchment, or a thick towel, and the table is stable rather than wobbly. Keep tablecloths, napkins, and place mats out of reach of the heat source.
How often should I reorganize my supplies?
Every few months: toss any fragrance oil that's turned cloudy or smells off, relabel anything that's faded, and confirm your wick sizes are still sorted correctly. A five-minute tidy-up before a big batch keeps things running smoothly.